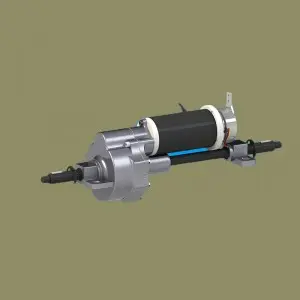
When performing any major repair or maintenance task on your vehicle, knowing the necessary steps is critical to ensuring a successful outcome. When it comes to removing a transaxle, one of the most critical components of your vehicle’s drivetrain, it’s crucial to know where to start. In this blog post, we’ll take a deep dive into the process of removing a transaxle and reveal the initial steps that lay the groundwork for smooth and efficient operation.
Step One: Prepare Your Vehicle Properly
Before delving into the actual demolition process, it is crucial to fully prepare the vehicle. While this may seem like an obvious first step, its importance is often overlooked or underestimated by many inexperienced mechanics or DIYers. Preparing your vehicle not only ensures a safe work environment, it also simplifies the next steps.
1. SAFETY FIRST: Before working on the transaxle, the vehicle must be secured and stabilized. Park the car on level ground and fully engage the parking brake. If necessary, use wheel chocks to prevent any unwanted movement while working under the vehicle.
2. Disconnect the battery: Since disassembly of the transaxle usually involves handling electrical components, it is necessary to disconnect the negative battery terminal. This precaution prevents the risk of electric shock or accidental damage to sensitive electrical systems.
3. Drain Fluid: Before removing the transaxle, all fluid in the system must be drained, including transmission fluid. Not only does this step reduce the overall weight of the transaxle, but it also prevents any potential leaks during disassembly. Make sure to follow proper fluid disposal procedures as dictated by local environmental regulations.
4. Gather Tools and Equipment: Specific tools and equipment are required for successful transaxle removal. Before you begin, have all the necessary items ready, such as jack stands, floor jacks, sockets, wrenches, torque wrenches, pry bars, and a drive jack. Easy access to these tools will save time and ensure a smoother process.
5. Wear protective gear: As with any auto repair task, safety should be a top priority. Wear appropriate protective gear, such as goggles, gloves, and coveralls to protect yourself from potential injuries, chemicals, and dirt.
Removing a transaxle is undoubtedly a complex task that requires precision and careful execution. Starting the process with the right first step can create a solid foundation for a successful job. By properly preparing your vehicle, prioritizing safety, disconnecting the battery, draining fluids, gathering needed tools, and wearing protective gear, you can prepare for a smooth transaxle removal process. Remember that taking the time to work hard on the first steps will pay off in terms of efficiency, safety, and overall success. So equip yourself with the necessary knowledge, follow the manufacturer’s instructions, and embark on this journey with confidence.
Post time: Aug-11-2023


