
Maintaining your vehicle’s transaxle is critical to ensuring smooth and efficient operation. One of the key maintenance tasks is regularly checking and replenishing the transaxle oil. The transaxle combines the functions of the transmission, axle and differential and requires proper lubrication to function effectively. In this guide, we’ll walk you through the step-by-step process of filling your transaxle fluid to keep your vehicle running smoothly.
Step 1: Gather necessary tools and materials
Before you begin, make sure you have all the tools and materials you need to complete the task. You will need a jack and jack stands to lift the vehicle, a socket wrench set, a funnel, and the appropriate transaxle fluid specified in the vehicle’s owner’s manual. It is important to use the correct type of transaxle oil recommended by the manufacturer to ensure optimal performance.
Step 2: Park the vehicle on level ground
Find a flat, level surface to park your vehicle. Engage the parking brake and chock the wheels to prevent the vehicle from rolling. Must work on a level surface to ensure accurate fluid level readings and proper filling of the transaxle.
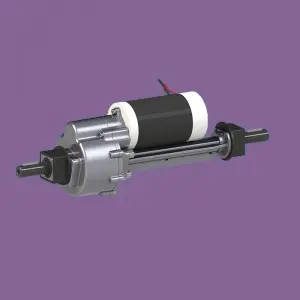
Step 3: Lift the vehicle and locate the fuel plug
Use a jack to lift the front of the vehicle and secure it with jack stands for safety. With the vehicle raised, locate the transaxle oil plug. The filler plug is usually located on the side of the transaxle housing. Refer to your vehicle’s owner’s manual for the exact location of the filler plug.
Step 4: Remove the fill plug
Using a suitable socket wrench, carefully remove the oil filler plug from the transaxle case. It is important to remove the fill plug first to ensure that you can add fluid and that the old fluid drains out properly. Keep in mind that some filler plugs can become stubborn due to corrosion, so be careful and apply penetrating oil if necessary.
Step 5: Check Fluid Level
After removing the fill plug, insert your finger or a clean dipstick into the fill hole to check the fluid level. The fluid level should reach the bottom of the fill hole. If the fluid level is low, you will need to add the appropriate transaxle fluid.
Step 6: Add Transaxle Oil
Using a funnel, carefully pour the recommended transaxle fluid into the fill hole. Pour liquids slowly to prevent spills and spills. It is important not to overfill the transaxle as this can cause excessive stress and potential damage to the transaxle components.
Step 7: Reinstall the filler plug
After adding transaxle oil, reinstall the filler plug and tighten. Make sure the fill plug seals properly to prevent leaks.
Step 8: Lower the vehicle and take a test drive
Carefully lower the vehicle off the jack stands and remove the jack. After filling the transaxle oil, test drive the vehicle to ensure that the transaxle operates smoothly and shifts effectively.
Step 9: Check for leaks
After the test drive, park the vehicle on level ground and check for leaks around the transaxle housing. If you notice any leaks, address them immediately to prevent further problems.
By following the steps below, you can effectively fill the transaxle fluid in your vehicle and ensure optimal performance and longevity of your transaxle components. Remember to check your vehicle’s owner’s manual for specific guidelines and recommendations on transaxle oil maintenance. Regularly checking and filling transaxle fluid is a simple but important maintenance task that contributes to the overall health and performance of your vehicle.
Post time: Mar-22-2024