
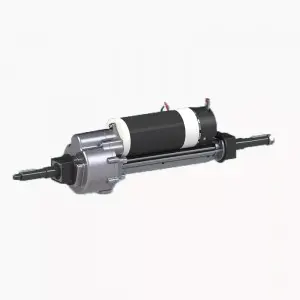
The transaxle is an important component in many vehicles and is responsible for transferring power from the engine to the wheels. From time to time, you may find yourself needing to replace or repair a transaxle pulley. While professionals can effectively handle such tasks, vehicle owners must have a basic understanding of how to remove a transaxle pulley. In this blog post, we will guide you through the necessary steps to ensure a successful removal process.
Step 1: Gather the required tools
Before diving into the process, it is crucial to gather all the necessary tools. You will need a socket wrench, a pulley removal tool, a breaker bar, safety goggles, and a socket set. Having the right tools will ensure a smooth and efficient disassembly process without causing any damage.
Step Two: Safety First
Safety should always be the number one priority in any vehicle maintenance task. To remove the transaxle pulley, first secure the vehicle on a level surface and engage the parking brake. It is also recommended to disconnect the negative battery terminal to prevent any electrical accidents during the process.
Step 3: Locate the Transaxle Pulley
It is critical to determine the exact location of the transaxle pulley before proceeding. Typically, the pulley is located at the front of the engine, where it connects to the transaxle or power steering. Please refer to your vehicle manual for its exact location as it may vary by make and model.
Step 4: Loosen the Center Bolt
Using a breaker lever and an appropriately sized socket, loosen the center bolt on the transaxle pulley counterclockwise. It may take some force to loosen the bolt, so make sure you have a firm grip on the breaker lever. Be careful not to damage any surrounding components or straps when applying force.
Step 5: Use the Pulley Removal Tool
After the center bolt is loosened, you can proceed to use the pulley removal tool. Place the tool onto the pulley hub ensuring a tight fit. Turn the removal tool clockwise to gradually pull the pulley away from the transaxle. Take your time and patience during this step to avoid any damage to the pulleys or other components.
Step 6: Remove Pulley
After successfully pulling the pulley away from the transaxle, carefully remove it from the tool and set it aside. Thoroughly inspect the pulleys for any signs of wear or damage. If replacement is required, make sure to purchase the correct pulley for your particular model.
With the transaxle pulley removed, you can now make any necessary repairs or replacements. When reassembling, perform the above steps in reverse order, making sure to tighten the center bolt securely. Also, remember to double check all connections and make sure all tools are removed from the work area before starting the vehicle.
Remember that removing the transaxle pulley requires patience and attention to detail. It is always recommended that you seek professional help if you are unsure about any step in the process. By following the steps outlined in this blog post, you will gain the confidence and knowledge to effectively remove the transaxle pulley, ensuring the smooth operation and ultimately peak performance of your vehicle’s transaxle system.
Post time: Jul-19-2023