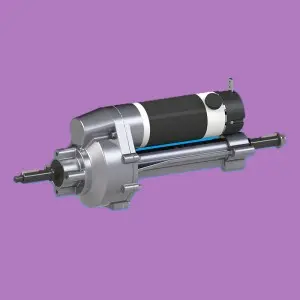
Welcome to our blog! Today, we’re going to discuss an important topic every car owner should know about – changing transaxle fluid. Transaxle fluid, also known as transmission fluid, plays a vital role in the smooth operation of your vehicle’s transmission system. Regularly changing the transaxle fluid will help extend the life and performance of your car. In this blog, we’ll save you time and money by giving you a step-by-step guide on how to change transaxle fluid yourself. So, let’s get started!
Step 1: Gather Necessary Tools and Materials
Before starting the process of changing the transaxle fluid, it is important to gather all the tools and materials you will need. These may include a socket wrench set, drain pan, funnel, new filter, and the proper type and amount of transaxle fluid as specified by the automaker. Using the correct fluid for your particular vehicle is critical, as using the wrong type can cause serious damage.
Step 2: Locate the Drain Plug and Remove Old Fluid
To drain old transaxle fluid, locate the drain plug, usually located on the bottom of the transmission. Place a drain pan underneath to catch liquid. Use a socket wrench to unscrew the drain plug and allow the liquid to drain completely. After draining, put the drain plug back in place.
Step 3: Remove the Old Filter
After the fluid has drained, locate and remove the old filter, which is usually located inside the transmission. This step may require you to remove other components or panels to access the filters. Once exposed, carefully remove the filter and discard it.
Step 4: Install a new filter
Before installing a new filter, be sure to clean the area around where the filter connects to the transmission. Then, take out the new filter and install it securely in the designated location. Make sure to install it properly to prevent any leaks or malfunctions.
Step 5: Top up the transaxle oil
Use a funnel to pour the appropriate amount of fresh transaxle fluid into the transmission. See vehicle manual for correct fluid volume. It is important to pour liquids slowly and steadily to avoid spills or spills.
Step 6: Check Fluid Level and Test Drive
After filling, start the vehicle and let the engine idle for a few minutes. Then, switch each gear to circulate the fluid. Once done, park the car on a level surface and check the fluid level using the designated dipstick. Add more liquid as needed, if necessary. Finally, take your car for a short test drive to make sure the transmission is running smoothly.
Changing transaxle fluid is an important maintenance task that should not be overlooked. By following these step-by-step instructions, you can successfully change your car’s transaxle fluid yourself. Regular maintenance of transaxle fluid will help extend the life of your vehicle’s driveline and ensure optimum drivability. If you are unsure or uncomfortable performing this task, it is recommended that you consult a professional mechanic for expert help.
Post time: Jul-10-2023


