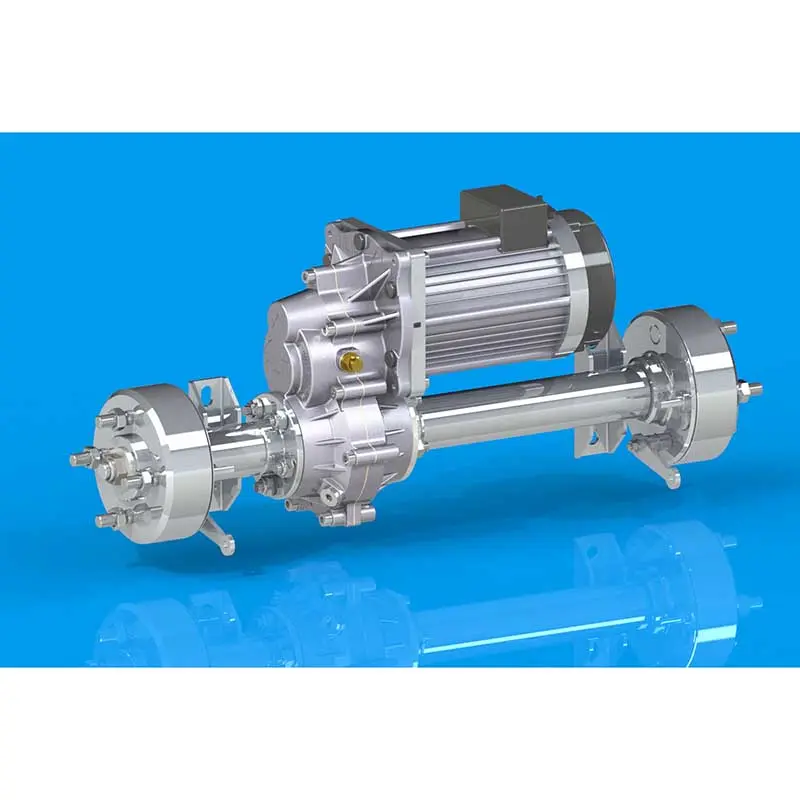
If you own a Transaxle 16HP Sears tractor, you may eventually need to take it apart for maintenance or repairs. The transaxle is an important part of the tractor and is responsible for transmitting power from the engine to the wheels. Over time, repairs may be needed in the form of repairs or oil changes. Whatever the reason, disassembling a transaxle 16HP Sears tractor can seem like a daunting task. However, with the right tools, knowledge, and a little patience, you can do the job successfully.
First and foremost, it is important to gather all the necessary tools and materials before starting the decomposition process. You’ll need a socket set, wrenches, a torque wrench, a drip tray, safety gloves, and any replacement parts or fluids you need for the job. It’s also wise to have your tractor’s manual on hand for reference.
Before you begin, make sure the tractor is on flat, stable ground and the parking brake is engaged. Having a clean and organized workspace will make the decomposition process go much more smoothly.
First, remove the transaxle top cover and vent plug, as well as the rear wheel and fender assembly. This gives you access to the transaxle housing and components. Secure the tractor with jack stands to ensure safety during breakdowns.
Next, unscrew the drain plug and drain the transaxle oil into the drain pan. Allow the oil to drain completely before replacing the plug. It is important to dispose of old oil correctly as it is harmful to the environment and should not be poured down the drain.
Once the oil is drained, you can proceed with removing the transaxle belt and pulley. Loosen the bolts on the transaxle pulley and slide it off the shaft. Then, remove the belt from the pulley and transaxle input shaft.
With the belt and pulley removed, you now have access to the transaxle itself. Use a socket set and wrench to remove the transaxle mounting bolts and remove the transaxle from the tractor. Be careful and support the transaxle properly to avoid injury.
With the transaxle removed, you can perform any necessary repairs or maintenance. This may include replacing worn gears or bearings, inspecting and cleaning internal components, or simply adding fresh oil. See your tractor manual for specific instructions on your specific model.
Once the required work is completed, it is time to reassemble the transaxle 16HP Sears tractor. Carefully lift the transaxle back into the tractor so that it aligns with the mounting holes. Reattach the mounting bolts and make sure they are torqued to the manufacturer’s specifications.
Next, reinstall the transaxle belt and pulley. Slide the belt onto the transaxle input shaft and around the pulley, then tighten the pulley bolt to hold it in place.
Before replacing the top cap and breather plug, add appropriate oil to the transaxle to the specified level. This will ensure the transaxle is properly lubricated for optimal performance.
Finally, reinstall the rear wheel and fender assembly, making sure they are securely fastened. Double-check all connections and components to confirm everything is in the correct position.
Dealing with transaxle 16HP Sears tractor trouble may seem daunting at first, but with the right approach and attention to detail, it can be a manageable task. Always put safety first and follow the guidance of your tractor’s manual throughout the process.
By performing routine maintenance or repairs on your tractor, you’ll ensure it continues to run smoothly and reliably for years to come. Additionally, you’ll gain a deeper understanding of the inner workings of a tractor and develop valuable practical skills that will serve you well in the long run. With this knowledge and experience, you will be better able to handle any future maintenance needs that may arise on your Transaxle 16HP Sears Tractor.
Post time: Jan-26-2024


